
Mail Assure is a cloud-based security solution which protects against email-borne attacks and provides security for inbound and outbound emails. Mail assure also provides email continuity if the primary email server goes down along with the long-term email archiving option.
Logging In
Mail assure provides a web-based interface for administrators and end-users to access and manage their resources. Users can be added via the admin control panel under the Users and Permissions section. There are various user levels available as mentioned below:
- Admin: An Admin is a mechanism for consolidating access to manage a set of domains. Each domain is linked to a single Admin. When you add a new domain, you choose whether it should be managed by the first level administrator or by a lower-level administrator (e.g. a customer Admin)
- Sub-Admin: A Sub-Admin user is an Admin user that belongs to a higher level (“parent”) Admin.
- Technician: Technician is the primary partner and customer user types in Mail Assure which are linked to an admin account. All technicians linked to admin will have access to all lower-level resources.
- Domain: A domain user manages domain settings. Mailboxes and email users for a single domain. We can add domain-level users for all domains.
- Email: Email user accounts are individual mailbox logins for accessing the Mail Assure interface.
Adding a Domain
The domain must be first added to the Mail Assure to accept and filter mail. Domains can be added through the Mail assure control panel:
- Log in to the mail access control panel as an admin user.
- Click on the option General > Domains Overview
- Click Add domain

- Select “Setup Manually”.
- Enter the domain name and then choose the admin assignment and click next.
- Add the mail server address, either as IP or the FQDN. Remember to include the Port for incoming mail for routing through after filtering in the Destination route hostnames field.
- Select the appropriate “Routes/region” and click next.
- You will now get a TXT record for domain verification. Add the TXT record and then verify the domain.
- Click Finish to complete the process
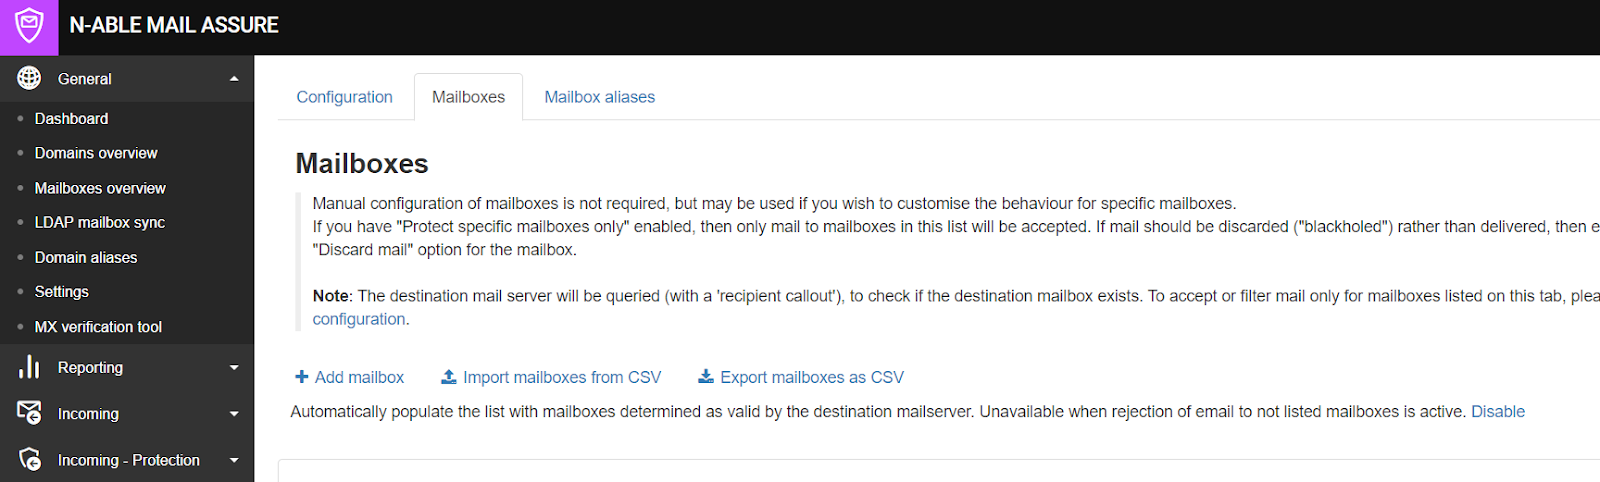
Mailboxes Configuration
Mailboxes can be added or managed through the Admin Control Panel or Domain Control Panel.
To add a mailbox, navigate through Mailboxes overview > Mailboxes in the control panel and click Add mailbox.
You can also enable the auto-populate mailboxes option so that the mailboxes which are determined as valid by the destination server are created automatically.
Enter the mailbox name and select the domain. Adjust options and resources, like filtering/archiving, if needed, and click Save.

MX records and SPF Records
Once the domain is configured in Mail assure, we need to update the MX records and SPf of the domain so that the mails are routed through Mail assure.
Following are the global MX records for Mail assure:

It is recommended to use a Hybrid SPF record in the following format:
TXT "v=spf1 ip4:100.61.82.2 a:mail.mydomain.com.mx include:spf.mtaroutes.com -all"
You may also need to add the mail assure IPs to the allow list in our firewall
Hostnames:
delivery.mtaroutes.com (mail filtering servers)
master.antispamcloud.com (for LDAP connections)
IP Ranges:

Email Archiving
Email Archiving facility provided by Mail Assure which allows users to back up, store mails and access them if needed. When this feature is enabled, a copy of all emails to and from external addresses is stored in the Mail assure server. Internal mails are processed by the local mail server and are not saved in Mail Assure. Archiving can be enabled on the domain level or per user under the mailbox configuration.
Mail Filtering
Mail assure provides the option to filter emails based on specific rules and allow/blocklists.
Filtering rules:
- Incoming Allow list Filtering Rules: Incoming mail that matches any of these rules will always be delivered.
- Incoming Block list Filtering Rules: Incoming mail that matches any of these rules will always be blocked.
- Outgoing Blocklist Filtering Rules: Outgoing mail that matches any of these rules will always be blocked
Recipient Allow List
Incoming mail sent to all Email Addresses on the Recipient Allow list will be allowed despite the classification of the message.
Add recipient to Allow List:
- Log in to the Admin Level Control Panel
- Go to “Incoming Protection Settings” >> Recipient Allow list
- Select “Add recipient to Allow list” to open the following dialogue box

- Select the Admin user from the dropdown menu.
- Enter the local part of the recipient’s email address.
- Click Save
Recipient Blocklist
Incoming mail sent to recipients on the list of blocked recipients will always be blocked regardless of the classification of the message.

- Click on Block Recipient
- If you are accessing this from the Admin Level, the Domain dropdown is displayed: select the relevant domain
- In the Local-part field, specify the local part of the recipient’s address
- Click on Save to add the recipient
Once the setup is complete, mails will be filtered and routed through mail assure. If the destination server is offline or unreachable, Mail Assure will queue the mails and will attempt to continue delivering emails and store emails in the incoming delivery queue for viewing.
If you require help, contact SupportPRO Server Admin
Facing issues?
Our technical support
engineers can solve it.

