
DNS is a critical component of any network infrastructure. It is responsible for translating domain names into IP addresses, making it a prime target for attackers. A compromised DNS server can lead to traffic redirection, data interception, service downtime, and severe reputation damage. The main objective of securing DNS includes ensuring the secure exchange of data between DNS servers, protecting DNS queries, securing zone transfers, and controlling DNS updates. Strengthening DNS security is a foundational step in overall website and server protection, as discussed in SupportPro’s guide on improving website security In this article, we explain one of the most effective DNS-hardening methods: securing DNS using chroot, along with essential configuration considerations. Before proceeding, ensure that you have taken a …
Technical Articles
Check for the current version of apache installed on the server and make sure that the apache development tools have been installed on the server (i.e. httpd-devel package) using the command rpm -qa | grep httpd-devel In case the apache development tools are not installed on the server, install the package via yum yum install httpd-devel The devel package is necessary for addition of extra modules to apache ( since apxs [apache extension tool] comes with httpd-devel. Before installation of mod_security, ensure that the c (apache module) is installed on the server as well. The command httpd -t -D DUMP_MODULES will provide a list of all loaded apache modules. Use httpd -t -D DUMP_MODULES | grep httpd -t -D DUMP_MODULES …
Remote server configuration 1. Edit the /etc/my.cnf file in the remote server and add the following line somewhere under [mysqld] in the my.cnf file bind-address=<IP address of the remote server> 2. Restart mysql on the server Granting privileges for database:: In order to access a database ‘abc’ on the remote server from another machine, we need to add sufficient privileges for a user in the machine from which the connection is made. i.e. from the mysql prompt ( use mysql command or mysql -u root -p to enter the prompt). mysql> grant all privileges on abc.* to username@IP address of the machine from which the connection is to be made identified by <password> Example:: Let us consider two machines with …
An SSL certificate is a file installed on a secure web server that identifies a website. SSL certificate is mainly used is tokeep sensitive information sent across the Internet encrypted so that only the intended recipient can understand it. An SSL Certificate is used for the following functions. 1. Authentication and Verification: The SSL Certificate holds the information about the authenticity of certain details regarding the identity of a person, business or website, which it will display to visitors on your web site when they click on the browser’s padlock symbol. 2. Data Encryption: The SSL Certificate enables encryption, which means that the sensitive information transmitted through the website/Internet cannot be intercepted and read by anyone other than the intended …
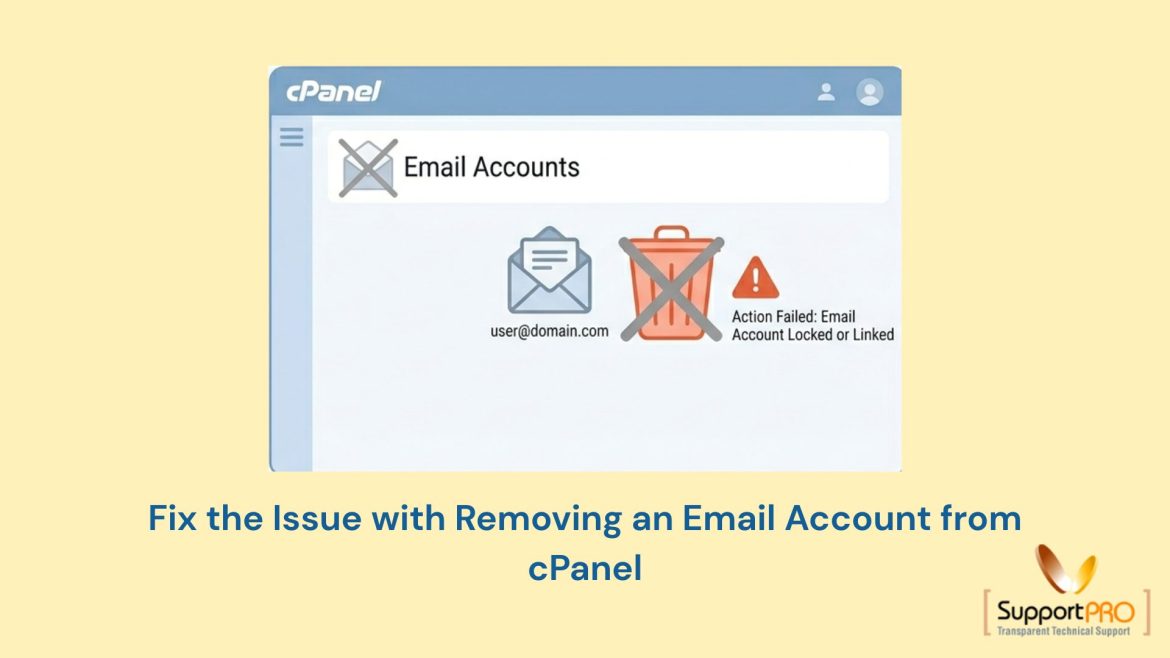
Sometimes while trying to delete an email account from cPanel, you may encounter an error similar to the following: This issue with removing an email account from cPanel usually occurs because the domain ownership information inside cPanel is not properly updated after account or domain changes. Although the email address may appear deleted, its entries and mail data can still remain on the server. In such situations, manual cleanup is required. Common Causes of the Issue with Removing an Email Account from cPanel This problem mainly occurs in the following cases: 1. Domain Changed Between Main and Addon Domain The issue can happen when a domain is changed: During this process, cPanel may retain old email account references. 2. Domain …
GNU/Linux provides a tool/command to fix this issue: ‘dpkg-reconfigure xserver-xorg’ is the command for fixing the Xserver loading problem. Steps:- First, log in as a super (or root) user from the console. Then, run dpkg-reconfigure xserver-xorg (if you’re on Ubuntu and can’t log in as root, run sudo dpkg-reconfigure xserver-xorg). You will see a window/wizard as ‘Configuring xserver-xorg’ , Just accept the default answer and go to the next one. At the end of the wizard you will be exited from the configuration window/wizard, then just reboot the system your graphics(GUI) loading problem will be fixed. If you require help, contact SupportPRO Server Admin
By enabling ‘concurrent mailbox access’ option on server, you can access the mailbox from your local PC and using iPhone at same time. To enable this on MailEnable please follow the bellow steps: 1. Log into MailEnable Administrator. 2. Go to MailEnable Management 3. Click on Servers–>services. 4. Rightclick on POP, select ‘properties’–>advanced 5. Select the option “Allow concurrent mailbox access”. 6.Then restart MailEnable. log into MailEnable Administrator–> MailEnable Management–>Servers–>Services->POP (properties)–> advanced–> allow concurrent mailbox access If you require help, contact SupportPRO Server Admin
To enable the PPP feature for a VPS, we first need to check whether the modules ppp_async and ppp_deflate are loaded in the kernel. You can check this by executing the following commands. # modprobe ppp_async# modprobe ppp_deflate Or you can list the active modules using the command lsmod. # lsmod | grep pppppp_deflate 39168 0zlib_deflate 52760 1 ppp_deflateppp_async 45184 0crc_ccitt 6337 1 ppp_asyncppp_generic 20165 6 ppp_deflate,ppp_asyncslhc 30561 1 ppp_generic Steps to enable the PPP feature.1. # vzctl set VEID –features ppp:on –save2. # vzctl set VEID –devices c:108:0:rw –save3. # vzctl exec VEID mknod /dev/ppp c 108 04. # vzctl exec VEID chmod 600 /dev/ppp5. Restart the VPS using the command # vzctl restart VEID To check the PPP …
You can install litespeed on a WHM/Cpanel server by simply following the bellow steps. 1. Log into server via SSH as ‘root’ user. 2. Go to /usr/src cd /usr/src 3. Download the installation file using wget. wget http://www.litespeedtech.com/packages/cpanel/lsws_whm_plugin_install.sh 4. chmod 700 lsws_whm_plugin_install.sh 5. sh lsws_whm_plugin_install.sh ( ./lsws_whm_plugin_install.sh) 6. rm -rf lsws_whm_plugin_install.sh 7. Log into WHM. Go to manage pluggins section. 8. Start the installation procedure by clicking on ‘Install LiteSpeed’. 9. This will ask you to enter your license information and admin password. Enter these information and click on ‘Build matching PHP Binary’. (Please do not tick the box to start LiteSpeed immediately). 10. Click on Switch to LiteSpeed 11. Click on Admin Web Console and login 12. Final stages …
SMTP (Simple Mail Transfer Protocol) is the standard protocol used to send emails across the internet. It acts as a bridge between email clients and mail servers, ensuring that outgoing messages are transmitted to the recipient’s mail server efficiently. SMTP typically operates on ports 25, 465, and 587, and is responsible only for sending emails. For receiving emails, protocols like IMAP and POP3 are used. A properly configured SMTP service is essential for smooth email delivery. This includes correct port settings, authentication, and server permissions. If any of these are misconfigured, it can lead to errors such as failed email delivery, connection timeouts, or authentication failures. Understanding the Error If you encounter the error: “Message not sent. Server replied: Connection …