

You can install litespeed on a WHM/Cpanel server by simply following the bellow steps. 1. Log into server via SSH as ‘root’ user. 2. Go to /usr/src cd /usr/src 3. Download the installation file using wget. wget http://www.litespeedtech.com/packages/cpanel/lsws_whm_plugin_install.sh 4. chmod 700 lsws_whm_plugin_install.sh 5. sh lsws_whm_plugin_install.sh ( ./lsws_whm_plugin_install.sh) 6. rm -rf lsws_whm_plugin_install.sh 7. Log into WHM. Go to manage pluggins section. 8. Start the installation procedure by clicking on ‘Install LiteSpeed’. 9. This will ask you to enter your license information and admin password. Enter these information and click on ‘Build matching PHP Binary’. (Please do not tick the box to start LiteSpeed immediately). 10. Click on Switch to LiteSpeed 11. Click on Admin Web Console and login 12. Final stages …

SMTP (Simple Mail Transfer Protocol) is the standard protocol used to send emails across the internet. It acts as a bridge between email clients and mail servers, ensuring that outgoing messages are transmitted to the recipient’s mail server efficiently. SMTP typically operates on ports 25, 465, and 587, and is responsible only for sending emails. For receiving emails, protocols like IMAP and POP3 are used. A properly configured SMTP service is essential for smooth email delivery. This includes correct port settings, authentication, and server permissions. If any of these are misconfigured, it can lead to errors such as failed email delivery, connection timeouts, or authentication failures. Understanding the Error If you encounter the error: “Message not sent. Server replied: Connection …
You can recreate qmail’s queue by following the steps given below, but while recreating all the current messages will be removed from the queue and cannot be restored. So it is better to take backup of messages before starting. Steps: 1. log into server and stop qmail #/etc/init.d/qmail stop 2. cd /var/qmail/queue 3. rm -rf info intd local mess remote todo 4. mkdir mess 5. for i in `seq 0 22`; do mkdir -p mess/$i done cp -r mess info cp -r mess intd cp -r mess local cp -r mess remote cp -r mess todo chmod -R 750 mess todo chown -R qmailq:qmail mess todo chmod -R 700 info intd local remote chown -R qmailq:qmail intd chown -R qmails:qmail …
Email providers are services that allow users to send receive and store email messages over the internet They offer secure mail servers spam filtering user authentication and access through webmail mobile apps and email clients Popular email providers support protocols like IMAP POP and SMTP to ensure reliable communication across devices. Follow the steps below to create an email account on an Android mobile device. From the Home screen, tap the Apps icon. Open the Email app (or Mail, depending on your device). Tap Add Account or Next. Enter the following details: Email address – Your full email address Password – Your email password Tap Next. Choose the account type: IMAP (recommended) or POP Incoming Server Settings Enter the following …
You can use the command given below to check the hard disk performance. hdparm /dev/sda /dev/sda: IO_support = 0 (default 16-bit) readonly = 0 (off) readahead = 256 (on) geometry = 30401/255/63, sectors = 488397168, start = 0 If you require help, contact SupportPRO Server Admin
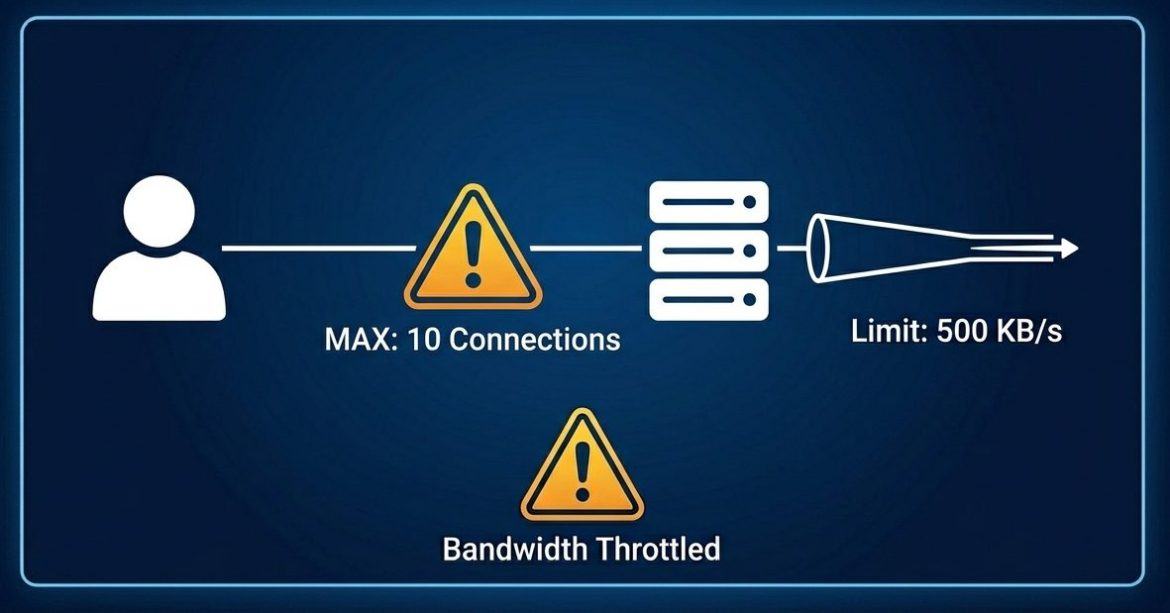
Managing server resources efficiently is essential for maintaining performance and stability. If a particular domain or directory is consuming excessive bandwidth, you can control its usage using the mod_bw module in Apache. The mod_bw (bandwidth module) allows administrators to restrict bandwidth usage and limit the number of simultaneous connections for specific virtual hosts (vhosts) or directories. This is especially useful in shared hosting environments where resource control is critical. When to Use mod_bw You can use mod_bw when: Steps to Install and Configure mod_bw 1. Check Apache Version Run the following command to verify your Apache version: 2. Download the mod_bw Module 3. Extract the Package 4. Review Configuration Instructions 5. Install the Module 6. Create Configuration File 7. Verify …
1. Installing ext3grep wget http://ext3grep.googlecode.com/files/ext3grep-0.7.0.tar.gz tar -xvzf ext3grep-0.7.0.tar.gz cd ext3grep ./configure make
This is the latest steps for installing ffmpeg wget http://mirror.ffmpeginstaller.com/old/scripts/ffmpeg5/ffmpeginstaller.5.1.tar.gz tar zxf ffmpeginstaller.5.1.tar.gz cd ffmpeginstaller.5.1 ./install.sh ###Error 1: installation of mplayer failed..cause cannot stat the conf file. run the steps below cd /usr/local/cpffmpeg mkdir -p etc/mplayer cd /usr/src/ffmpegscript/mplayer

Securing remote server access is one of the most critical responsibilities for system administrators. Traditional password-based SSH logins are highly vulnerable to brute-force attacks, credential leaks, and automated login attempts. A more secure and recommended approach is SSH key authentication, which replaces passwords with encrypted cryptographic key pairs. This guide explains how to enable SSH key authentication in cPanel/WHM and safely connect to your server. Why Use SSH Keys Instead of Password Authentication? SSH key authentication enhances server security by verifying identity through encryption rather than reusable passwords. Unlike passwords that attackers can guess or steal, SSH keys require possession of a private cryptographic key stored on your local system. Key Benefits of SSH Key Authentication Step 1: Access SSH …
Do the following: 1. Upgrade the kernel. The one you are running is slow, has bugs and has security vulnerabilities 2. Make sure you are an up to date compilation of httpd and php (i.e. rebuild it through WHM). 3. Check in WHM > Apache Status to see what the children hogging resources are doing