
While creating an email account in cPanel, you may encounter the error: This error typically means the system cannot find the required directory structure to generate mailbox configuration files. In most cases, the issue occurs because the etc directory inside the user’s home folder is missing or was accidentally deleted. Let’s understand why this happens and how to fix it safely. Why This Error Occurs When an email account is created in cPanel, the system automatically generates configuration files inside: Inside this directory, cPanel creates the passwd file, which stores mailbox configuration details. If the /etc directory does not exist inside the user’s home path, the mail system cannot create the required file. As a result, you see the “No …

cPHulk is a brute force protection system developed by the cPanel team and is exclusive to cPanel / WHM control panels. This protects service like WHM, SSH,FTP,IMAP and POP3 by disabling the authentication to those service after a brute force attack is detected. cPHulk mainly blocked the IPs which have perform more than one wrong login attempt with in a tiny time limit. If we need to remove a particular IP from the cPHulk deny list this is possible in two ways, Either from WHM or through database. Let us see how to remove IP from database. First you need to SSH to the server as root. # mysql (prompt should change to mysql) mysql> use cphulkd; (database changed ) …
Prerequisites Before you begin, ensure the following requirements are met: Tools Required: OpenSSL Operating System: Ubuntu Web Server: Nginx Assumptions Step-by-Step Installation Guide 1. Generate a Private Key Start by creating a 2048-bit RSA private key. Log in to your server via SSH and run: This will generate the private key file: mydomain.com.key. 2. Generate a Certificate Signing Request (CSR) Use the private key to generate a CSR: You will be prompted to enter the following details: Ensure the Common Name matches your domain name exactly. 3. Purchase an SSL Certificate Submit the generated CSR to a trusted Certificate Authority (CA) such as: After validation, the CA will issue your SSL certificate (mydomain.com.cert). 4. Verify the Certificate and Private Key …
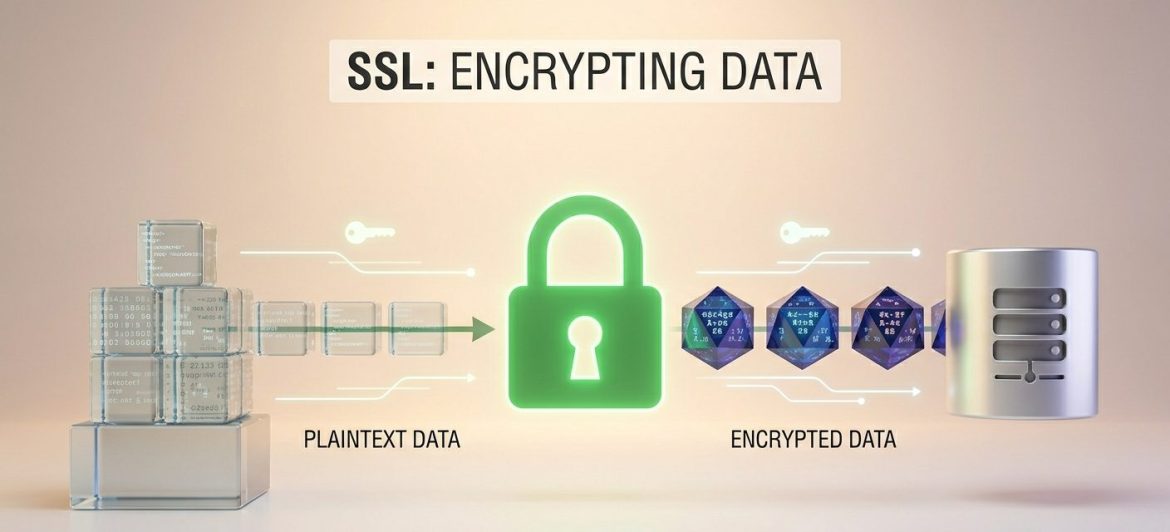
An SSL certificate is a file installed on a secure web server that identifies a website. SSL certificate is mainly used is tokeep sensitive information sent across the Internet encrypted so that only the intended recipient can understand it. An SSL Certificate is used for the following functions. 1. Authentication and Verification: The SSL Certificate holds the information about the authenticity of certain details regarding the identity of a person, business or website, which it will display to visitors on your web site when they click on the browser’s padlock symbol. 2. Data Encryption: The SSL Certificate enables encryption, which means that the sensitive information transmitted through the website/Internet cannot be intercepted and read by anyone other than the intended …
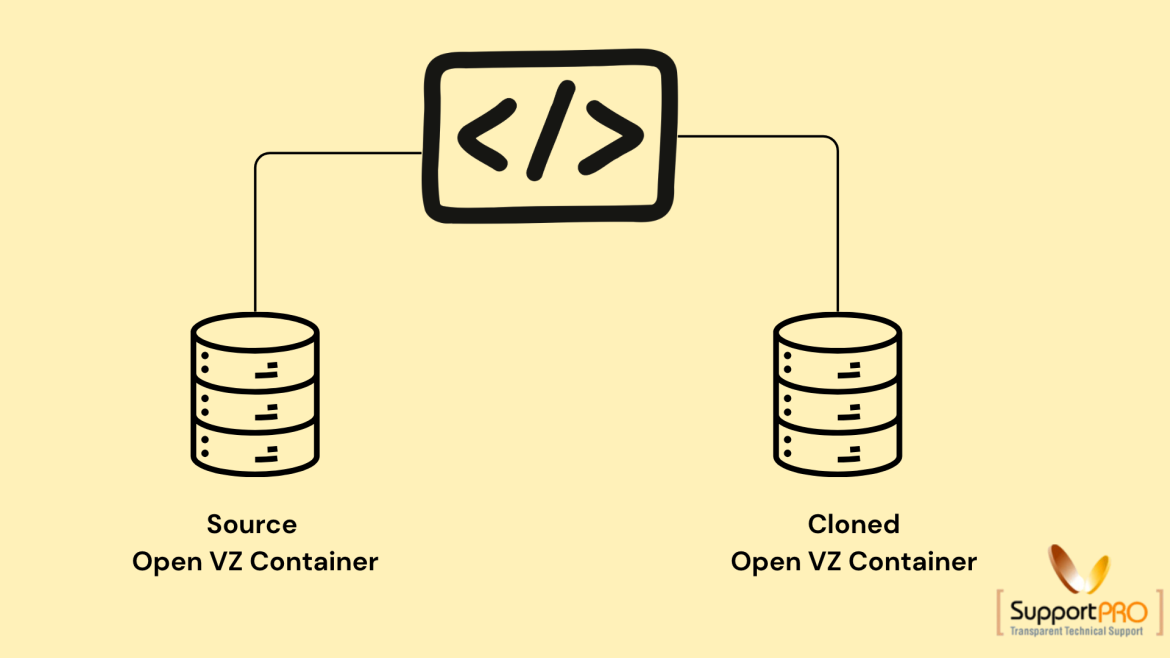
Cloning an Open VZ container is a useful process for creating an exact copy of an existing VPS container. The cloned container contains the same files, configurations, applications, and settings as the original container but uses a different container ID and storage path. This process is commonly used for backup purposes, server migration, testing environments, and rapid VPS deployment. OpenVZ provides a utility called vzmlocal that simplifies container cloning directly from the host node. What is Cloning an Open VZ Container? Cloning an Open VZ container means reproducing an existing virtual private server (VPS) into another container with identical content and configuration. The cloned container includes: However, the cloned VPS will have: This allows administrators to create duplicate environments quickly …
You are getting the error message Error: cron job (cron.sh) error message: expr: syntax error because the commands included in Magentos cron.sh files are not portable. To get it work you can change the following line in cron.sh: if [ “$INSTALLDIR” != “” -a “`expr index $CRONSCRIPT /`” != “1” ];then to something more portable: if [ “$INSTALLDIR” != “” -a “`echo $CRONSCRIPT | sed -n ‘s/[/].*//p’ | wc -c`” != “1” ];then If you require help, contact SupportPRO Server Admin
The Multi Router Traffic Grapher (MRTG) is a free and widely used network monitoring tool that helps administrators track and analyze traffic load across network links. It collects traffic data and displays it in graphical format, making bandwidth monitoring simple and efficient. What is MRTG? MRTG monitors network interfaces by polling routers, switches, and servers at regular intervals. It records: The tool generates easy-to-read graphs that help system administrators understand bandwidth usage patterns and network performance. Key Feature of MRTG One important thing to note is that MRTG displays average transfer values, not exact real-time totals. These averages can still be used to estimate total bandwidth consumption. Calculating Monthly Bandwidth Usage You can calculate approximate monthly bandwidth usage using MRTG …
If you corrupt the SSH settings on your server and lock yourself out of ssh, then you can reset the SSH configuration settings from WHM by following the steps below: 1. Login to your WHM on a non-secure port that is: 2086 For example http://serverip:2086 2. Then browse the URL to reset the SSH configuration settings: http://serverip:2086/scripts2/doautofixer?autofix=safesshrestart After running the script, the default port 22 will open up and after logging in the server via ssh we can edit the config file of sshd and then restart sshd service to apply the changes made. /var/cpanel/safe_sshd If you require help, contact SupportPRO Server Admin
You can change the time zone for a particular domain via .htaccess or php.ini file. If the server PHP is compiled with apache (dso) then you can use .htaccess file to set the time zone. SetEnv TZ location For SuPHP servers, you can create custom php.ini file for that particular domain and add the following code. date.timezone = “location” If you require help, contact SupportPRO Server Admin Partner with SupportPRO for 24/7 proactive cloud support that keeps your business secure, scalable, and ahead of the curve.
You can install CSF by downloading the package from www.configserver.com. #wget www.configserver.com/free/csf.tgz Extract the package #tar -zxvf csf.taz #cd csf [CSF firewall requires to remove any currently running IP based firewall] If any IP based firewall is running. Remove it #./remove_apf_bfd.sh Install script #./install.sh we can start the firewall in testing mode using this commands. #csf -s //start the firewall Configuration file of csf is /etc/csf/csf.conf It is very important to check the firewall on which ports to open and close all remaining port numbers. Open the /etc/csf/csf.conf and edit the following line with port numbers. #Incoming TCP ports TCP_IN = “20,21,22,25,53,80,110,143,443,953,993,995,2082,2083,2087,2086.2089” # Allow outgoing TCP ports TCP_OUT = “20,21,22,25,37,43,53,80,110,443.953,2087,2089” #Incoming UDP ports UDP_IN = “20,21,53,953” #Outgoing UDP ports UDP_OUT …